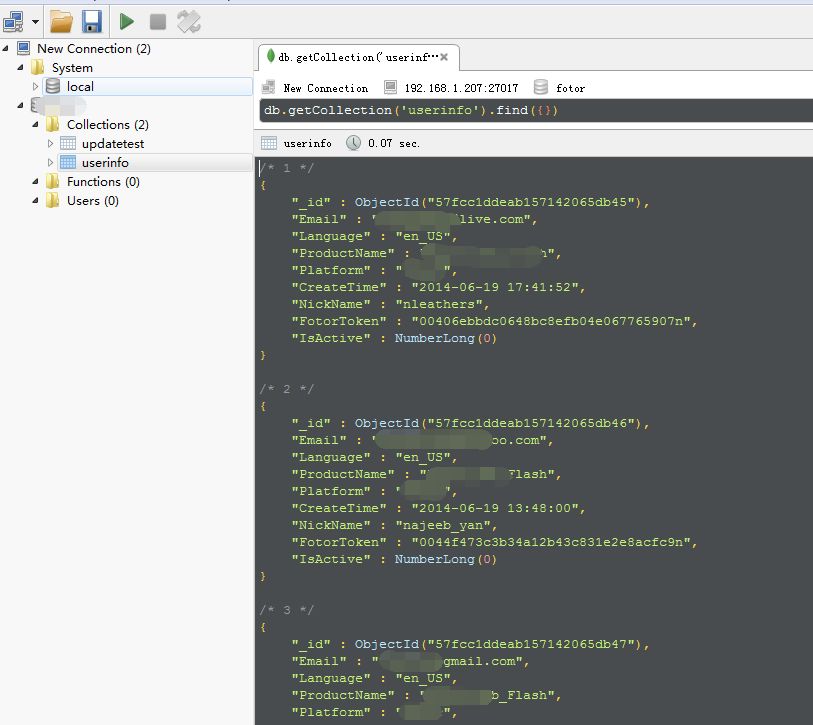
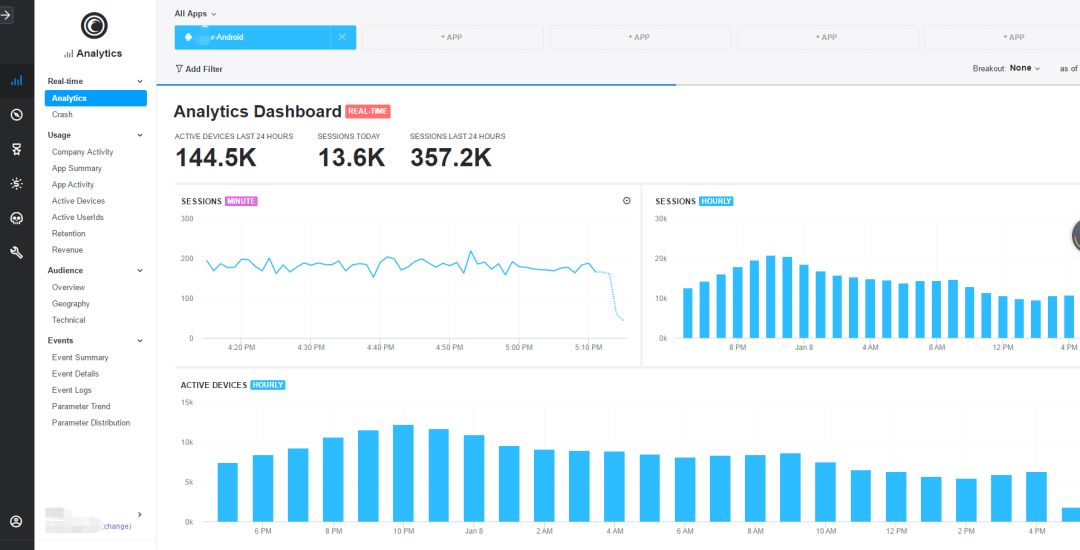
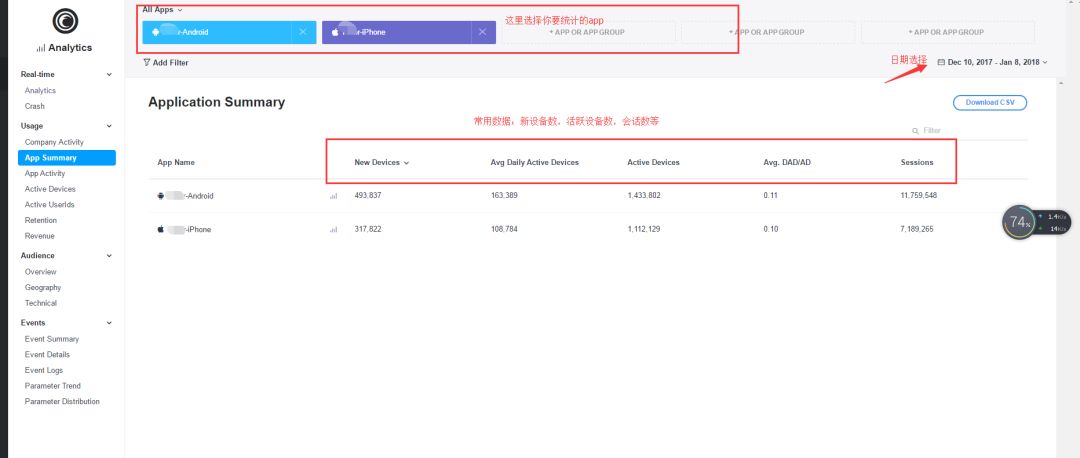
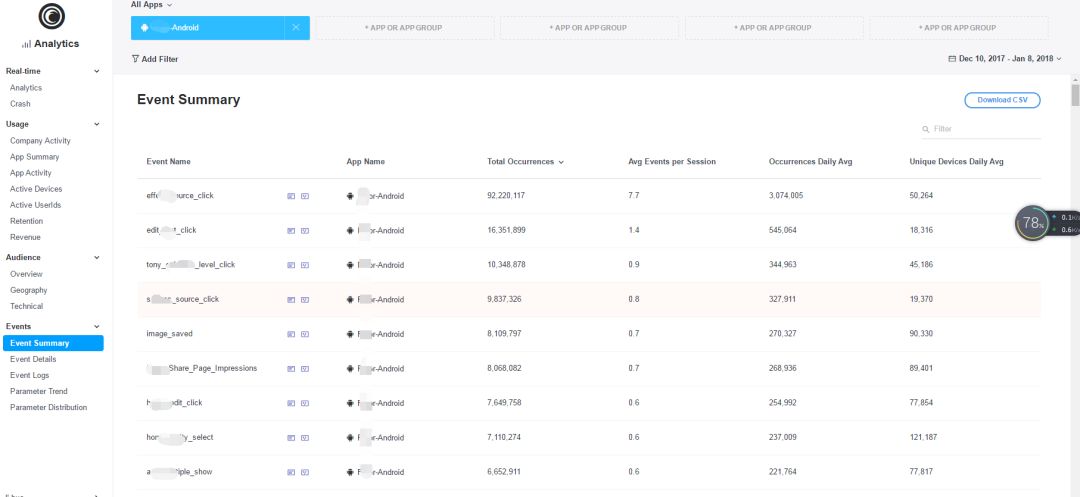
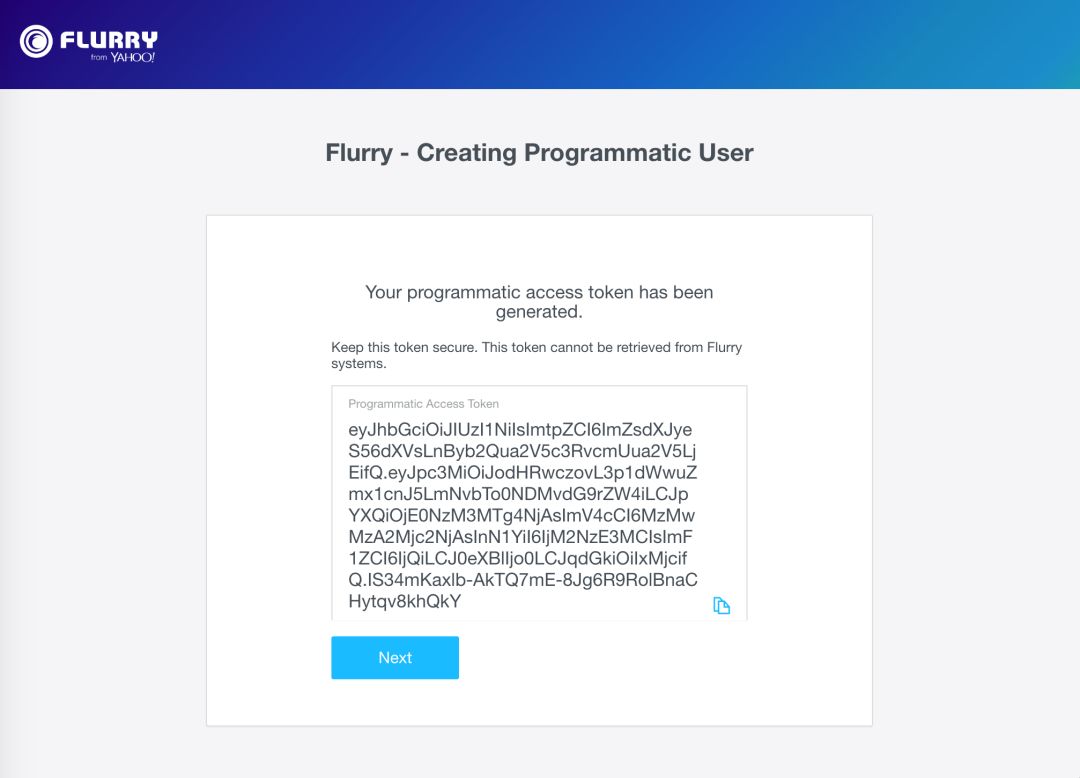
As a data engineer or data analyst, I often deal with various data. Among them, the data acquisition is unavoidable. Below, I will share the data connection configuration model I used in my daily work for everyone to communicate. . MySQL database The mysql database is one of the most used databases. Here I am doing the interface of reading and writing, and the deletion and update operations are generally not done by analysts, but by development, so I did not do this. importMySQLdb Import pandas as pd From sqlalchemy import create_engine Class con_analyze: """Data Analysis Platform Connection """ Def __init__(self, database='myanalyze'): Self.database = database Self.conn =None Def connect(self): Self.conn = MySQLdb.connect(host='***', user='root', passwd='***', db=self.database, charset='utf8') Def query(self, sql): Try: Self.connect() Data = pd.read_sql(sql,self.conn) Except(AttributeError, MySQLdb.OperationalError): Self.connect() Data = pd.read_sql(sql,self.conn)# Error reading data, connect again Return data Def store(self, mydataframe, table_name, if_exists='replace'): Conn2 ="mysql+mysqldb://root:***@***:3306/%s"%self.database Local_engine = create_engine(conn2) Mydataframe.to_sql(table_name, local_engine, if_exists=if_exists, index=False, chunksize=10000) ''' can also add a function to execute a single sql statement, not only read data, but also update, create, etc. '' Used as a link class, the conn given when initializing is None. Only when the query function is executed, the link is created. (In the link, I hide my own host information, you need to fill in your own host.) The query is used when the query is used. If the link is unsuccessful or the query is unsuccessful, an error will occur. If the link is unsuccessful, connect again in the exception. Regarding the repeated execution of a piece of code, there is a library that you can pay attention to: tenacity This library allows you to implement more elegant (pythonic) code. Repeat reading data here is done using the read_sql function in the pandas library. This function can directly query the result. Converted into a dataframe, which facilitates later analysis work The storage function is also a function tosql using dataframe. This function converts a df directly into sql data and stores it in the database. If tablename exists, you can choose to replace, add (append), etc. If df is very long and long, you need Set the chunksize parameter The chunksize setting, the program will automatically store your hundreds of thousands of rows of df iterations, only 10,000 rows at a time (this number is set by me, you can also change). Seeing this, you may have questions about why the read and write conns are different, one is created with MySQLdb.connect and the other is created with create_engine. What I want to say is that the following conn2 can actually be used as a read connection parameter, but the connection created using MySQLdb.connect may not be used for writing, because I have repeatedly run an error in practice, so I changed it. . In fact, other databases can be similar to this, configure a connection class for your project, which should be used like this: First, you need to put the code in a separate configuration file, such as config.py Then import this configuration file where you need to use it From config import con_analyze classAnalyzeData: Def __init__(self): # Initialize here, you can take one parameter: database, the default is myanalyze Self.conn = con_analyze() # self.conn2 = con_analyze("myanalyze_2") Def get_data(self, sql): # Execute sql query results saved to df Df =self.conn.query(sql=sql) Def store_data(self, df): # Store the dataframe type data df in the data table named dd_name Self.conn.store(df,'db_name') MongoDB Mongodb is an unstructured database, the data stored in it is similar to json, is the form of key-value pairs, if you encounter the need to query the data in mongodb, I will briefly introduce the following. Again, it is also necessary to build a class for the purpose of specification. Import pymongo Import pandas as pd classConn_Mongo: """mongo database connection """ Def __init__(self): Self.mongo_utoken = pymongo.MongoClient('mongodb://***:27000').utoken # User Table Def get_user_data_mongo(self,list_id): """ Find by connecting mongo """ User_data = pd.DataFrame(list(self.mongo_fotor.userinfo.find({'FToken':{'$in': list(list_id)}})))) Return user_data After all, this is simple, it is a query operation, I first pass a string of ids, find the corresponding information according to the id. In general, mongodb's library capacity is relatively large, so I have specific information about the query. Here we use the pymongo library, through which to create a connection to the corresponding address (I used * hidden), the latter .utoken is the corresponding library name, in fact, you can also use it as a parameter, passed in the initialization. The find function is used in the latter query. The userinfo in front of it is the name of the table, and the parameter of find is also the form of the key-value pair. Here I specify the name of the key "FToken", and its value {'$in': list(list_id The meaning of the representative is: in what. Make the id into a list (for everyone's understanding, name it as list_id), you can check the relevant syntax. Flurry If your work involves app data, you will often use Flurry to get the data. Flurry is a mobile statistics platform. Although it is foreign, it can still be used in China (unlike Google Analytics is banned). The operational data of ios and Android applications can be queried above. If you haven't already, and want to know, you can poke here: Flurry Yes, if you browse the web, the interface is like this. Commonly used functions are user data And feature click events However, this is not the point I want to talk about. The above is just to let you see what Flurry looks like. Now I have to write the python interface and take out the data. Flurry's api address, please poke here: Flurry API This is the api that creates the analysis report, which is different from the developed api. First, we need to apply for an app token to get the connection permission. For the application method, please refer to: app access token It is a big string of letters As long as we get this token, we can create a url to get the data in Flurry, see the following code: Import pandas as pd Import json, requests classConn_Flurry: """flurry api data""" Api_token ="******.****.****" Headers ={'Authorization':'Bearer {}'.format(api_token)} Url ="https://api-metrics.flurry.com/public/v1/data/appEvent/day/app?metrics=activeDevices,newDevices,averageTimePerDevice&dateTime=2017-05-23/2017-05-24" Def get_results(self, url=url): ''' The url used here is an example, you can also use the get_url function to create the required url to pass this function as a parameter. ''' Data = requests.get(url, headers=self.headers) Cleaned = json.loads(data.text,'utf-8') Cleaned = pd.DataFrame(cleaned['rows']) Return cleaned Def get_url(self, table='appEvent', timegrain='day', dimensions='app/event', metrics='occurrences', dateTime='2017-09-23/2017-05-24', filters=""): ''' If filters are empty, it does not affect the result. Standard url:endpoint + '/table/timeGrain/dimension1/dimension2;show=all/dimension3{...}?metrics=[comma-separated-metrics]&dateTime=[..]&filters=[...]&topN =[..]&sort=[..]&having=[..]&format=[..]&timeZone=[..]' App Usage url: endpoint+ "/appUsage/day?metrics=sessions,activeDevices,newDevices&dateTime=2016-06-01/2016-08-01&filters=app|name-in[appname]" App event url: endpoint + "/appEvent/day/app/appVersion/event?metrics=occurrences&dateTime=2016-07-01/2016-07-03&filters=app|name-in[foo],event|name-in[login ,register]" App event url2: endpoint + "/appEvent/day/app/country?metrics=activeDevices,newDevices&dateTime=2016-07-01/2016-07-03&filters=app|name-in[foo],event|name-in[login ]&topN=5&sort=activeDevices|desc" Event parameter: endpoint+ "/eventParams/day/app;show=all/event/paramName/paramValue?metrics=count&dateTime=2016-11-07/2016-11-08&filters=app|name-in[foo],event|name -in[level_complete]" Note that the changes in the dimensions are when looking at the specific information of an event: app;show=all/event/paramName/paramValue, plus a show=all Note the format of filters in filters, you can choose the app name and event name. Pay attention to the relationship between timegrain and datetime, the common ones are day and month, and the format of datetime should also change. ''' Endpoint = 'https://api-metrics.flurry.com/public/v1/data' Url ="{}/{}/{}/{}?metrics={}&dateTime={}&filters={}".format(endpoint, table, timegrain, dimensions, metrics, dateTime, filters) Return url The code is a bit long, with many comment lines in the middle, but in general it's two steps: Build url 2. Get the result of the url But in more detail, there are a lot of things involved, for example, why the format of the url is like this, and why the headers are constructed like this, as well as the form of the result, etc. What I want to say is that these have been explained in great detail on the official website api. I will not move the bricks. However, if you have any questions, please leave a message in the comment area. I know that I will answer them with all my heart. Url =self.conn_flurry.get_url('appUsage','month','app','averageTimePerSession,activeDevices,newDevices,sessions',self.time_range) User_mobile =self.conn_flurry.get_results(url) The above is a simple application, where time_range should be such a format Self.time_range = '2017-09/2017-10' For this time frame, Flurry defaults to the left and right, that is, does not include October. Similarly, if so That means starting from September 23, but not including the results of October 24. This is especially important. If you take the data for a certain period of time, it is easy to ignore this, resulting in less data. If it is okay by the day, there is a date of this date, it will remind you which days of data you got. Title map: pexels, CC0 authorization. Shenzhen Xcool Vapor Technology Co.,Ltd , http://www.xcoolvapor.com